Let There Be Light: 3 Easy Fixes For Outdoor Lights
Almost a foot of snow on the ground and freezing temperatures put the final kiss of death on what was left of my garden. With nothing left to do outside, it seemed like a good time to get a jump on my holiday decorating. I trudged up to the attic and hauled out the bags of outdoor lights I stowed away last year. I thought they all worked perfectly, but I when plugged them in half the strands didn't work - others were totally dead. What the heck? Many of them were brand new last year. Is this some kind of a Chinese plot to keep us all buying more?
I feel like I'm throwing good money after bad. It's annoying to keep replacing them and it's not environmentally sound to to toss them into the trash. Is it possible to repair them? I decided to consult my friend Michael Hannen for advice.

Michael is an accomplished plantsman who operates Growboy's Rare and Different Plants.
When it comes to decking the halls, he's a master. "In the past 25 years, I've probably hung around 50,000 lights," he claims. He decorates several neighborhoods for the same people year after year. "When you're buying ten or more strings at a time for a job, it can start getting expensive to keep buying and replacing them," he explains. It made sense to learn how to bring them back to life.
A fix can take anywhere from 5-10 minutes to replace a bulb or up to an hour. It all depends on the problem. "Sometimes I have to give up, he laughs. But most of the time I can fix it."

He was just starting in on his yearly repairs when I paid him a visit. He has a whole system in place.
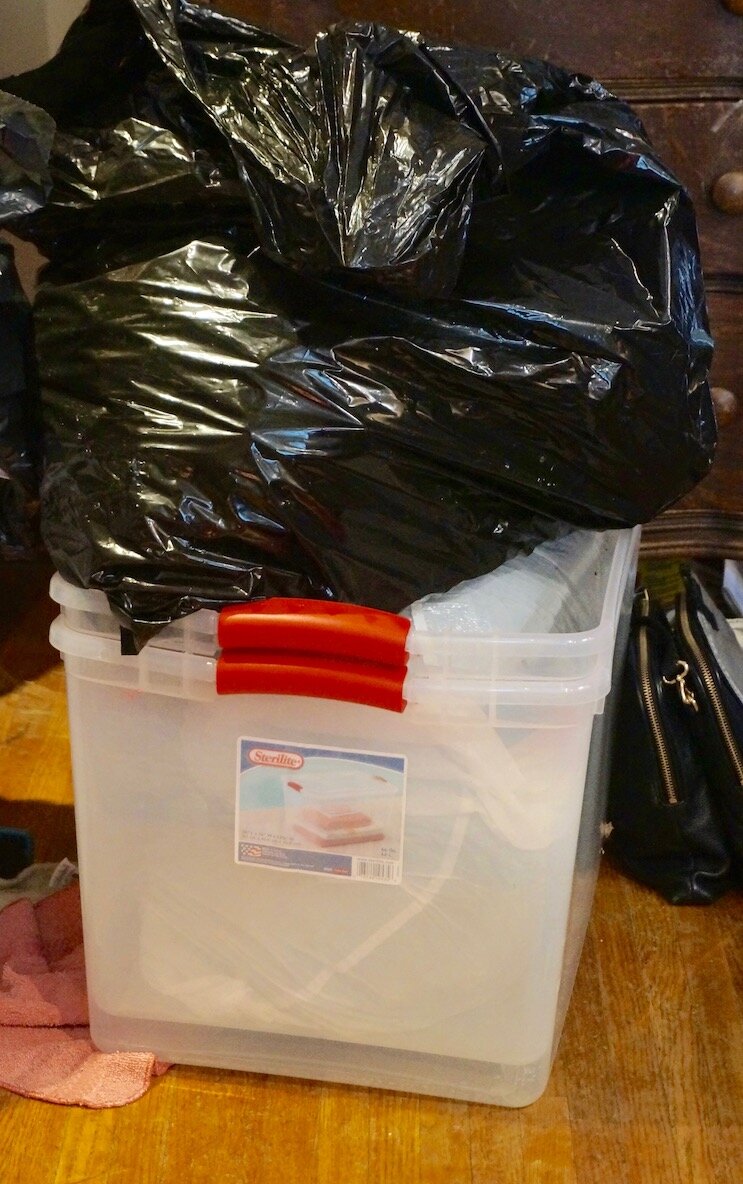
Step 1: Create a work space. Make sure it's in a comfortable spot near an electrical outlet. Have a 9-15 foot extension cord handy. You'll need small bins with lids, storage containers and a 9 volt battery for testing lights.

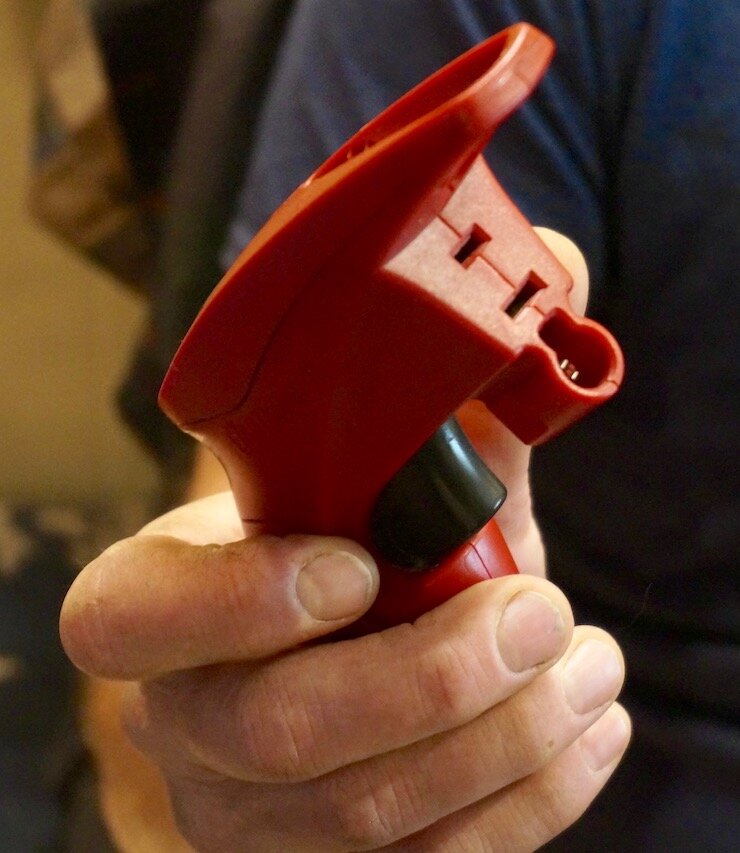
Michael uses Lightkeeper Pro - a useful tool that you can put on the string to test it. It sends a surge through it that will identify the dead bulbs. Click 5 times to test the string. You can find it at Home Depot.
He recommends having a pair of scissors handy to help loosen up tight bulbs from the caps. "Get the medium size Fiskars with thick orange handles," he advises. They have aluminum blades that don't conduct electricity and the blades are narrow enough to pull out the cap. Look for them in the sewing section at Joann Fabrics..
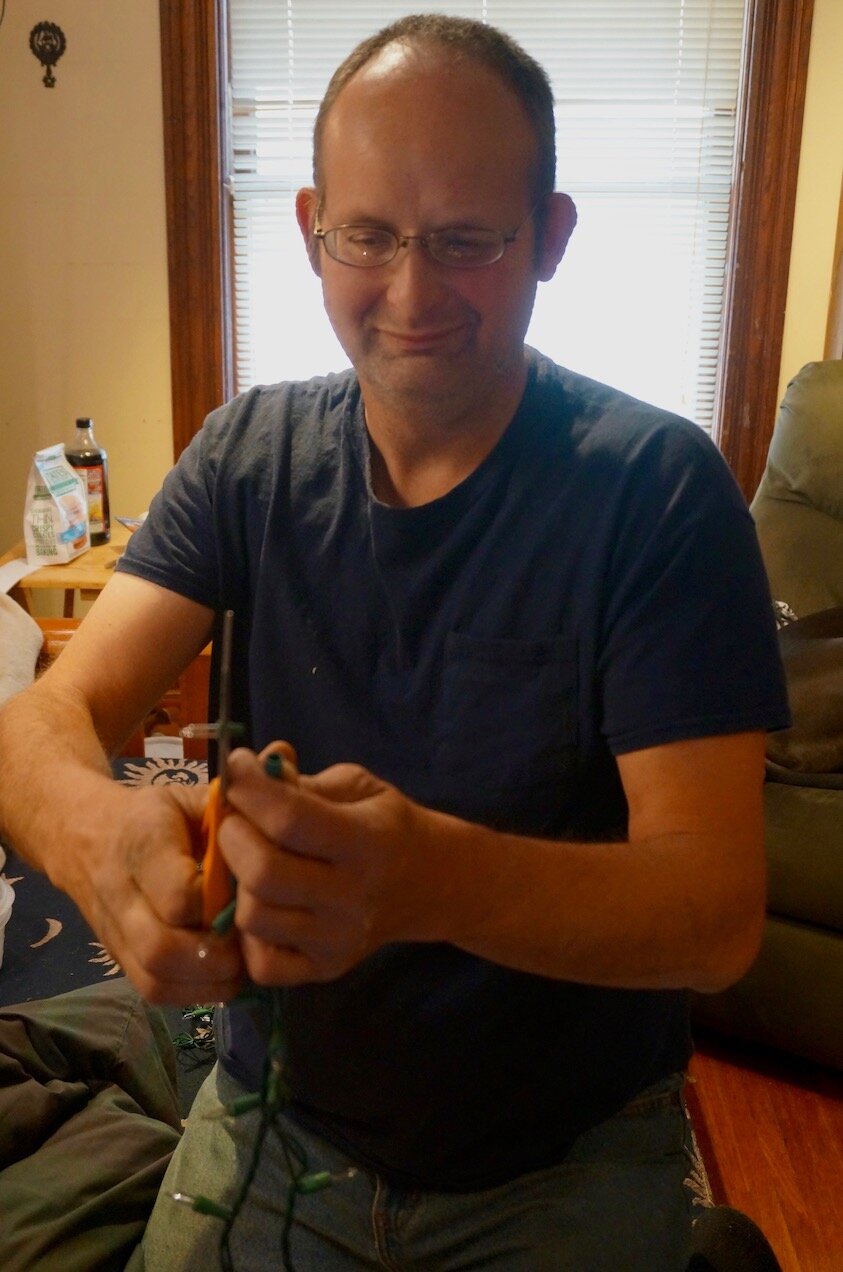
Step 2: Untangle each string, plug it in and inspect every light. Pull the light out of the green cap and look at it closely to identify the problem. Straighten up the wires first as you pull each bulb. That will help you line it up with the cap.

Step 3: Trouble shooting
Possible problems:
Broken light bulb
Broken wire in casing
2 wires touching - can cause half the string to not light up
Broken light: Replacing a dead bulb is the easiest fix. Test each one by taking it out of the green cap and putting the end wires between the two poles on the 9 volt battery. If it lights up, you're good. If not, replace the bulb with one that fits. Save all the extra lights that come in the package when you buy them. Michael saves all old lights from strings that don't work and keeps them in a bin for future use. A final tip about broken lights - inspect the tiny ball tip at the end of the bulb. It's hard to see - if it's broken it will let air into the bulb and prevent it from working. This is often the problem when only half the string lights up.

Check the wires: When you pull the bulb out of the green cap you can check the wires. A working wire will look like this.

A broken wire looks like this.

If wires are touching, the light will not work either. For these problems, you'll need replace the cap.
Save the original caps when you buy a package of lights. If they don't fit correctly, the lights won't work.

Michael saves caps and stores them in a bin. Here you can see how many different types there are.

When Michael is finished repairing the string, he folds it up by hanging the shortest end over his thumb and crisscrossing the string back and forth - one bulb at the top, the other at the bottom. When he gets to the end, he winds the long part of the string around the middle to anchor it. There's just enough space to cross around the other way and tie it like a ribbon on a box.


Using this method will give you a tidy package that is easy to store and transport.

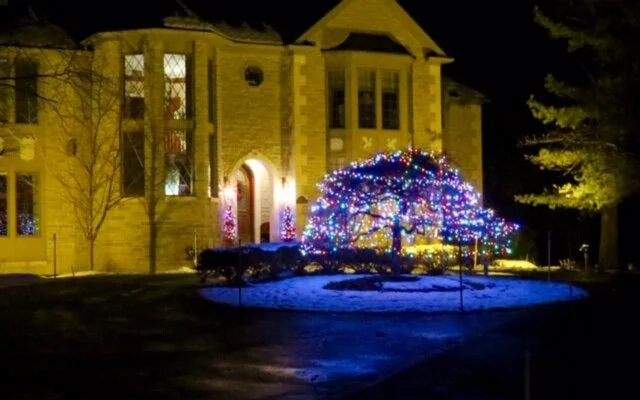
It pays off when he gets ready to use them outside. They can be thrown out like this and unfold without getting tangled up - making a decorating job much easier.
When you're repairing lights, keep these safety tips in mind:
Lights can break when you're working with them. Have a trash bin for broken bulbs in so you don't step on them. Michael uses knuckle band-aids to protect his fingers.
Make sure to wash your hands with hot soap and water after working with lights, the wires contain copper and other toxins. Give special attention to any cuts to prevent infection.
Is there anything you can do to help avoid the hassle of future repairs?
"Being careful helps," says Michael. Too much accumulated moisture can cause circuits to blow. Keep outdoor connections dry by wrapping the plugs with electrical tape. "Be patient, he advises - try not to turn the light bulbs or have them touching." Handle strings carefully - too much pulling and bending can cause broken wires, so when you're pulling them off try not to pull and tug too hard.
I’ll try to remember that when I'm in a hurry to get them off the shrubs when it's freezing outside!